How to Check and Clean Your Tractor Air Filter | Mahindra Tractors
Dec 18, 2024 |


How to check and clean tractor air filter
The air filter is a vital component of your tractor’s engine, playing a crucial role in maintaining performance and efficiency. A clean air filter ensures that only clean air enters the engine for combustion, which can help improve fuel efficiency and prolong engine life. So how to check and clean your tractor's air filter effectively? Let’s find out.
Importance of regular maintenance
Over time, dirt, dust, and debris can clog the air filter, restricting airflow and causing the engine to work harder. This can lead to decreased performance, increased fuel consumption, and potential engine damage. Regularly checking and cleaning the air filter is essential for optimal tractor operation.
Tools and materials needed
- Screwdriver or wrench: Depending on your tractor model.
- Clean, dry cloth or brush: For dusting off the filter.
- Compressed air (optional): For blowing out debris.
- Replacement air filter: If necessary
Step-by-step guide to check and clean tractor air filter
1. Safety first
Before starting any maintenance, ensure your tractor is parked on a level surface, the engine is off, and the key is removed from the ignition. Wait for the engine to cool down completely to avoid burns.
2. Locate the air filter
Refer to your owner’s manual to find the air filter's location. It is usually housed in a cylindrical or rectangular casing near the engine.
3. Remove the air filter cover
Using the appropriate tool, carefully unscrew or unclip the air filter cover. Be mindful of any screws or components that may drop into the engine compartment.
4. Inspect the air filter
- Visual check: Remove the air filter and inspect it for dirt, debris, or damage. A clean filter should be light in color, while a clogged one will appear dark and dirty.
- Physical inspection: Check for any tears, holes, or damage that may affect its performance.
5. Cleaning the air filter
- Dry cleaning: If the air filter is a foam or reusable type, gently brush off dirt using a clean, dry cloth or a soft brush. Avoid using excessive force that could damage the filter.
- Compressed air: If you have a reusable filter, you can use compressed air to blow out dirt. Always blow air from the inside out to prevent pushing dirt further into the filter.
- Washing (for foam filters): If you’re using a foam filter, you can wash it with mild soap and water. Rinse thoroughly and let it dry completely before reinstalling.
6. Replace the filter (if necessary)
If the air filter is damaged or excessively dirty, it’s best to replace it with a new one. Always use the correct type of filter as specified in the owner’s manual to ensure optimal performance.
7. Reattach the air filter cover
Carefully reattach the air filter cover, ensuring it is secured properly. Double-check that no debris has fallen into the engine compartment during the process.
8. Final checks
Before starting the tractor, ensure that all tools are removed from the engine area. Start the tractor and listen for any unusual noises that might indicate airflow issues.
Conclusion
Regularly checking and cleaning the air filter of your tractor is crucial for maintaining engine performance and efficiency. By following these steps, you can help ensure that your tractor operates smoothly, saving you time and money on repairs. Aim to check the air filter as recommended in your owner’s manual, to keep your tractor in optimal condition. Prevention is better than cure!
Recent Articles
Tag Cloud
Connect With Us


Dec 17, 2024
Dec 18, 2024

You May Also Like
-
Read More
 Which is the Best Tractor for Farming in India?
Farming tractors are the essential companions of farmers; these robust machines help them work...
-
Read More
 Choosing the Right Tractor for Groundnut Farming
Groundnut, or peanut, is grown in five states of India, namely Andhra Pradesh, Gujarat, Tamil Nadu, Karnataka, Rajasthan and Maharashtra.
-
Read More
 Mahindra’s Tractor’s Potato Farming Guide
Paddy farming is one of India’s most prevalent farming methods that use small, flooded fields to cultivate rice.
-
Read More
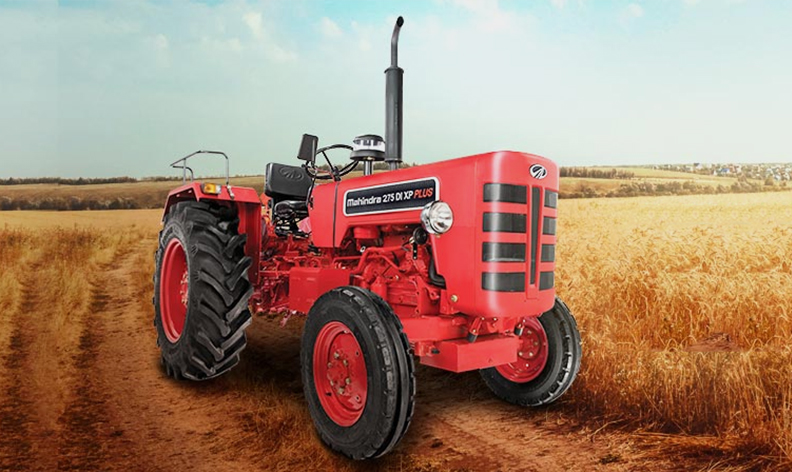 Why Buy a Mahindra 275 DI XP Plus Tractor: Mileage, Features & Specs
The Indian Tractor market is unique—farmers are looking for an all-rounder tractor that satisfies all their needs while being affordable and powerful. One such tractor that meets the demands of Indian farmers is the Mahindra 275